Liebherr RU500 User Manual
Browse online or download User Manual for Refrigerators Liebherr RU500. Liebherr RU500 User Manual
Summary of Contents
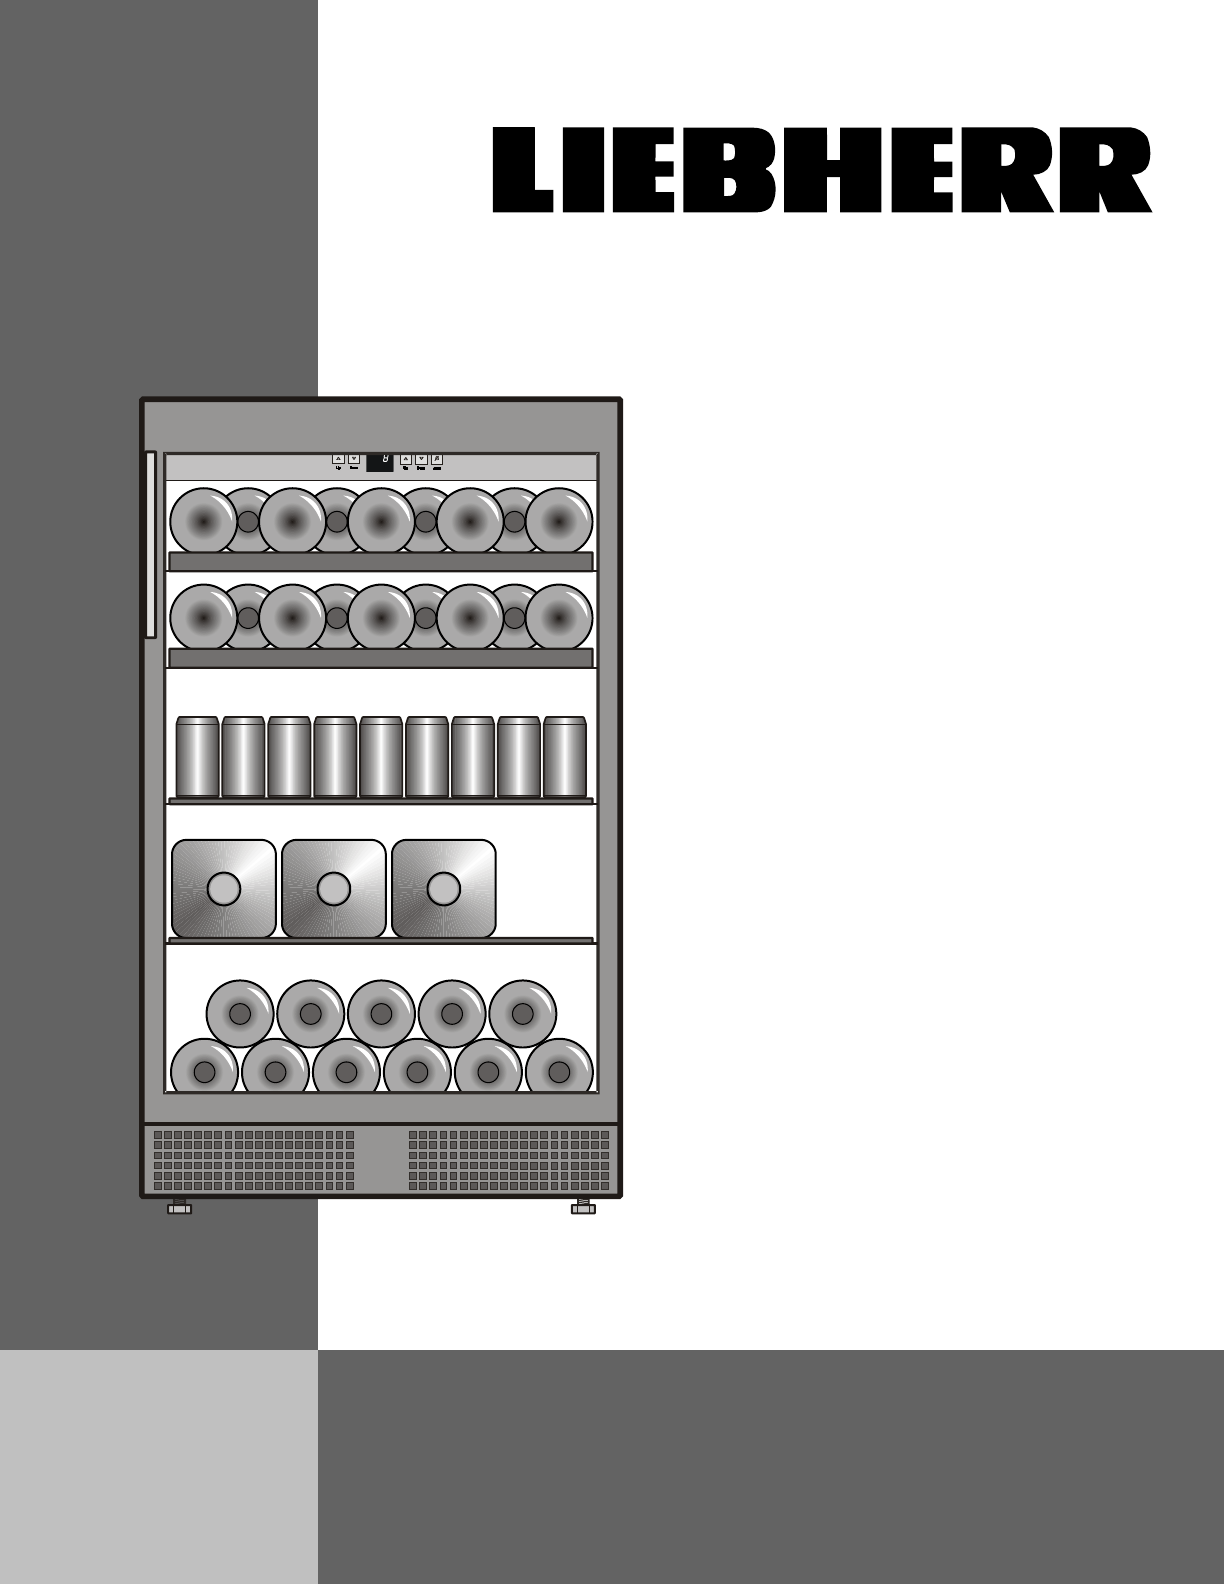
RU 5007081 619-01Use and Care ManualFor Beverage Cooler
10OPERATIONSetting the Temperature - Figure 7To reduce the temperature: Press the “DOWN“ button;To increase the temperature: Press the “UP“ but-to
11OPERATION For = brightness, press /(UP/DOWN) but-ton to select 1 = minimum to 5 = maximum brightness and acknowledge with “Light“ butto
12BEVERAGE COMPARTMENTAdditional FeaturesPull-out Racks - Figure 16The pull-out racks allows bottles of wine to be viewed and removed more easily. Fi
13DEFROSTING/CLEANINGKeep your stainless steel looking new by cleaning with a good quality stainless steel cleaner or polish monthly. High quality sta
Customer ServiceIf none of the above possible causes apply, and you can not rectify the fault yourself, contact your nearest customer service repre-se
15WARRANTYLIEBHERR WARRANTY PLANFULL TWO YEAR WARRANTY - For two years from the date of original purchase, your Liebherr warranty covers all parts and
2Additional benefits• CFC-free• Energy-optimized refrigerant circuit• Energy-efficient insulation• Low energy consumption• User-friendly electron
3IMPORTANTAll types and models are subject to continuous improvement. The manufacturer reserves the right to make modifications in the shape, equipmen
4Read and follow all the safety rules and operating instructions before using this appliance. Save these instructions for future reference. Throughout
5• To prevent possible injury due to broken glass, use hand protection when replacing the interior light.• To avoid injury or damage to the applianc
6Disposal of CartonThe packaging is designed to protect the appliance and individual components during moving and is made of recyclable materials.• C
7Safety RegulationsThe appliance is set to operate within specific ambient temperature limits according to its climate rating. These temperature limit
8INSTALLATIONInstallation and Fitting - Figure 3Figure 31. Connect the appliance to the dedicated outlet.2. Slide the appliance into the recess.3.
9INSTALLATION Reversing the Door Hinges - Figure 4Unscrew hinge pin.Transfer both pins of the hinge plate to the oppo-site side. Reassemble lower hing
Related products and manuals for Refrigerators Liebherr RU500


 (110 pages)
(27 pages)
(110 pages)
(27 pages)
 (13 pages)
© 2020, manymanuals.com. All rights reserved. | 0.099 s |
 Manymanuals.com
 Manymanuals.de
 Manymanuals.fr
 Manymanuals.it
 Manymanuals.pl
 Manymanuals.cz
 Manymanuals.es
 Manymanuals-pt.com
Comments to this Manuals